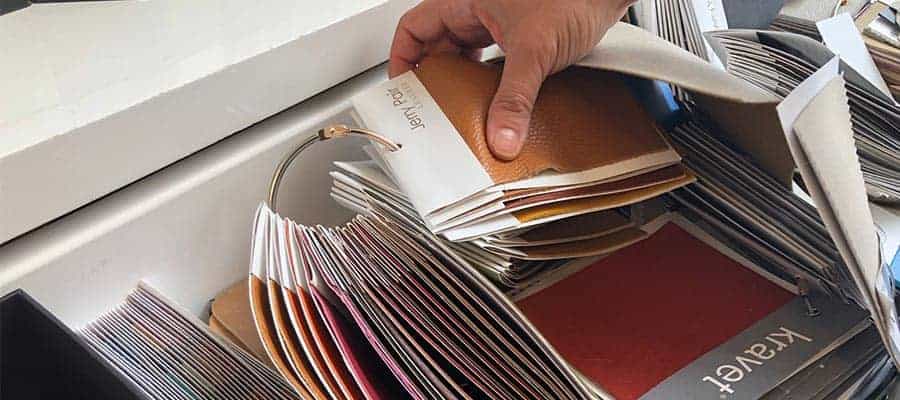
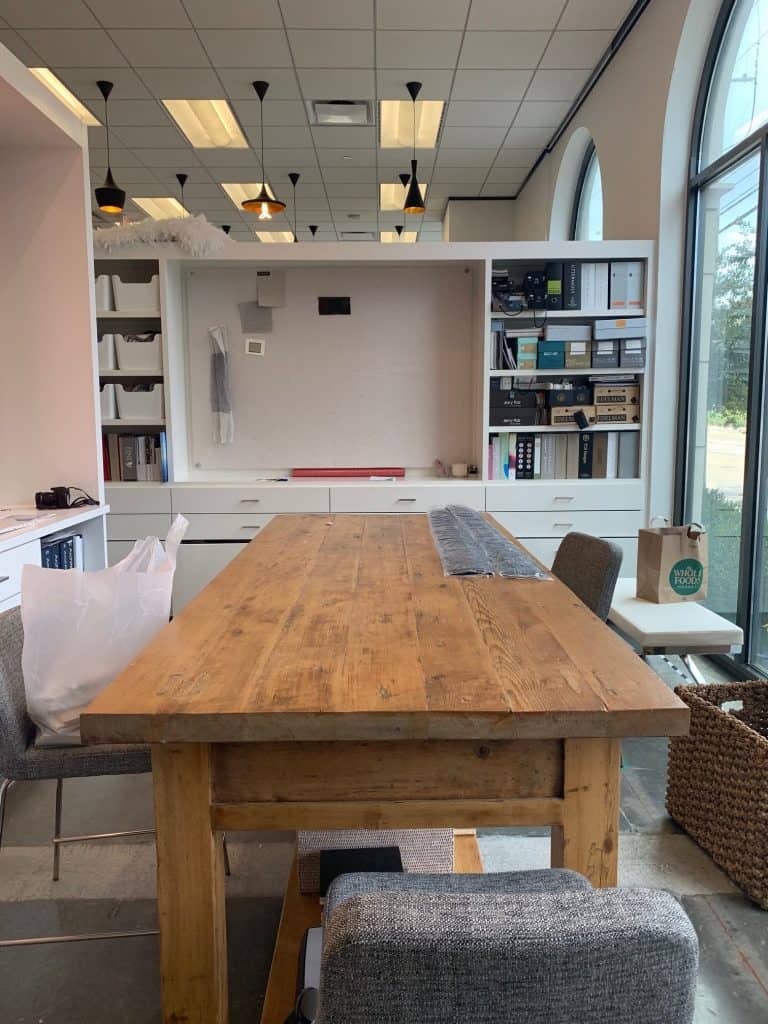
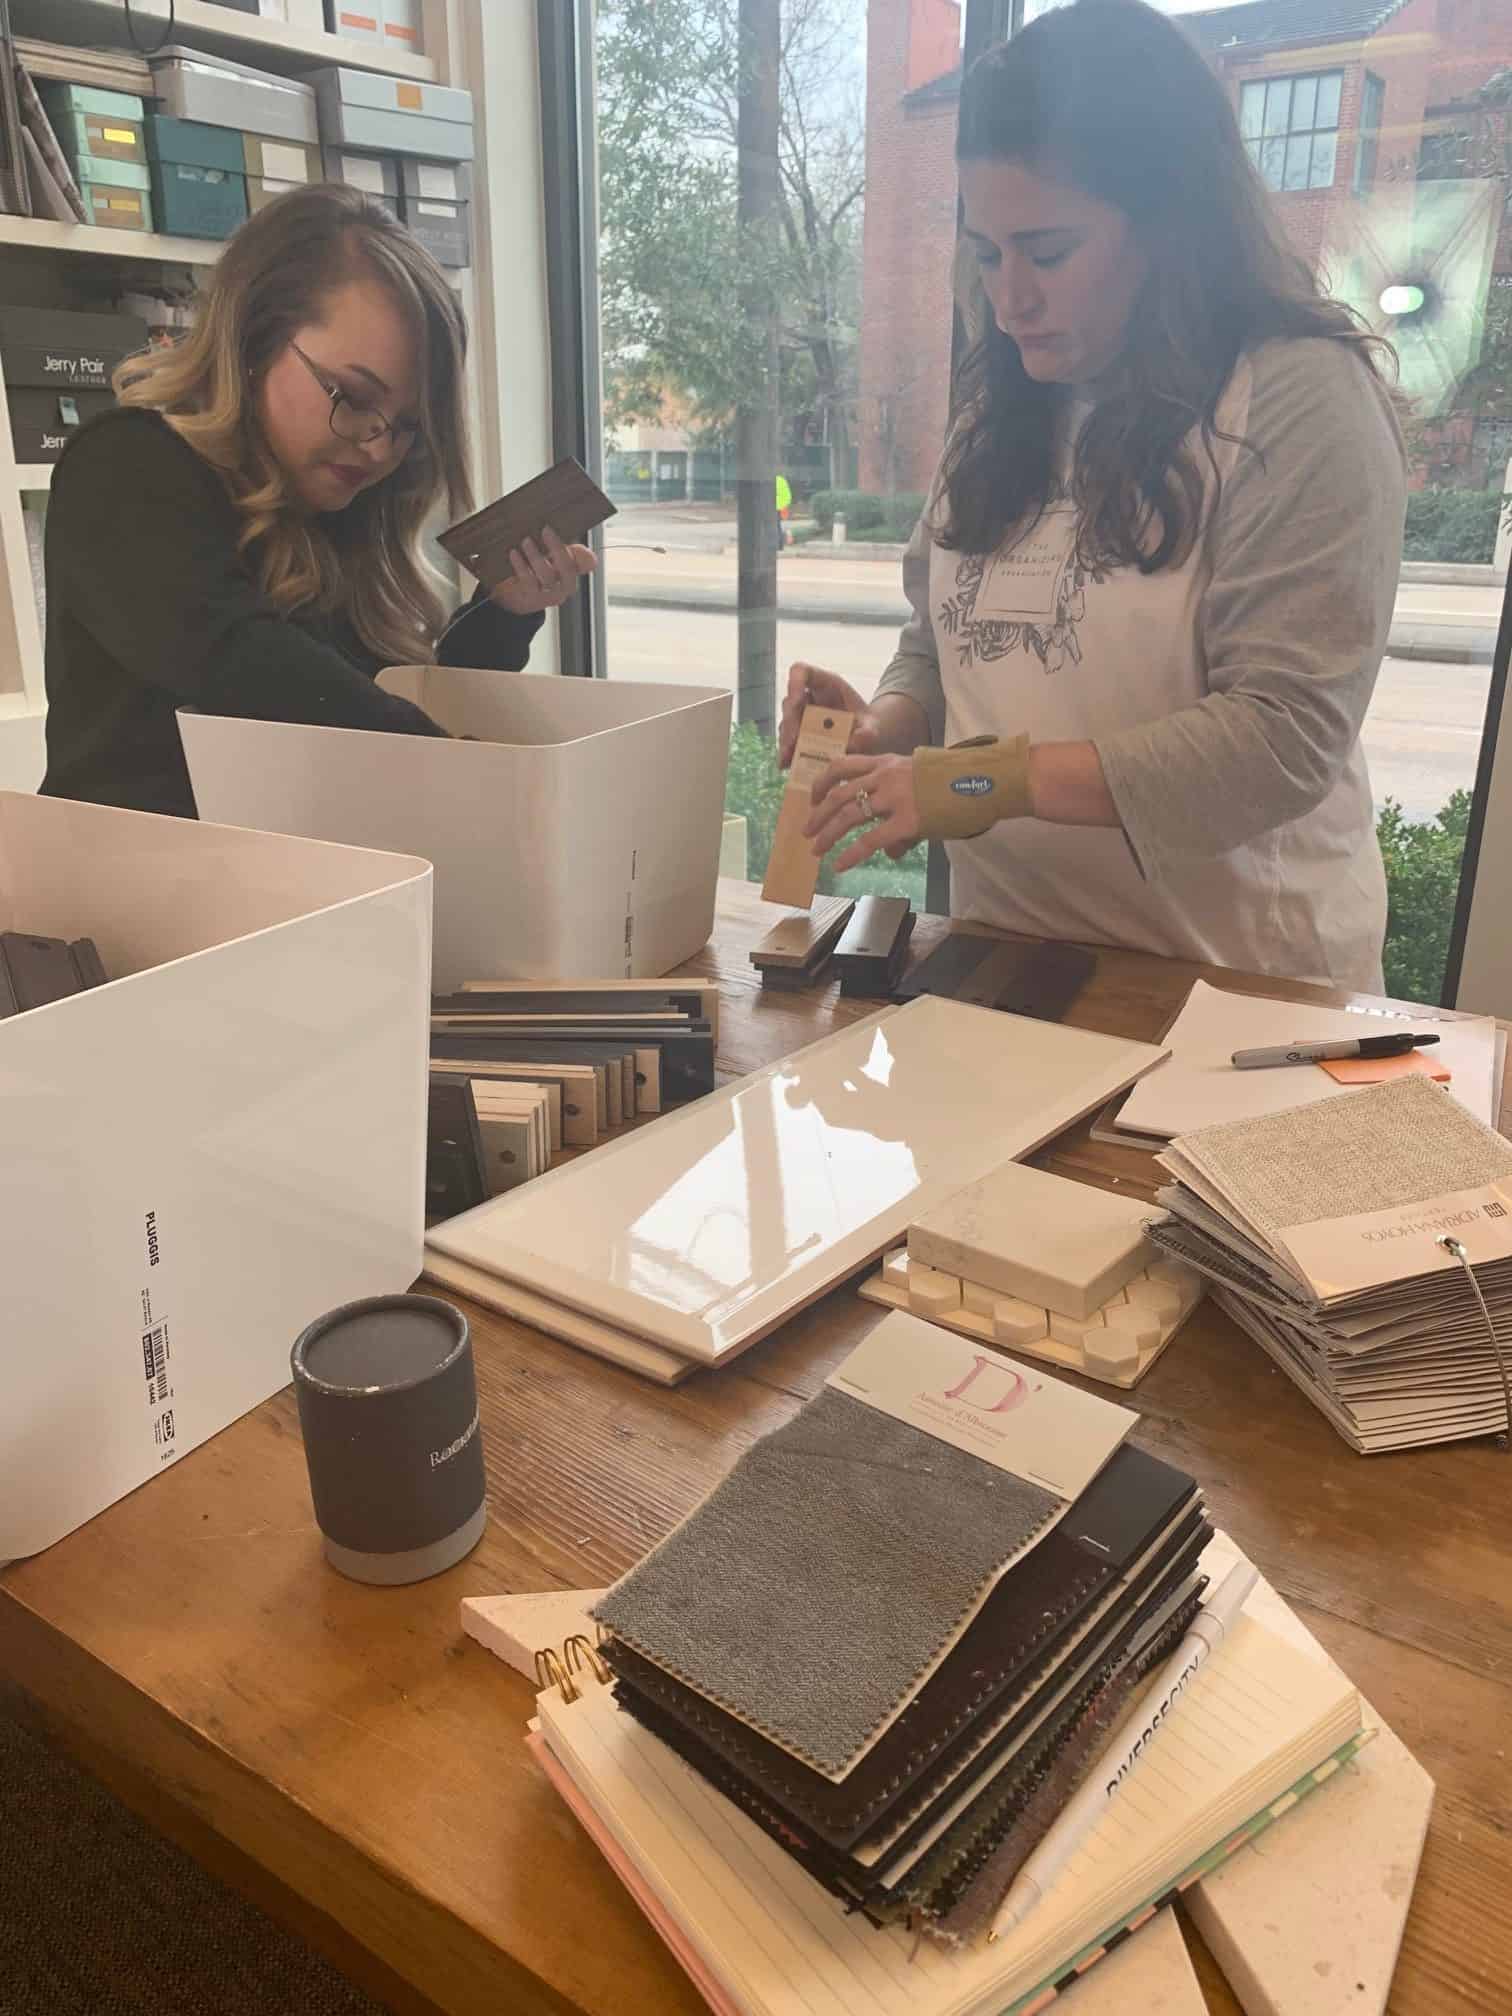
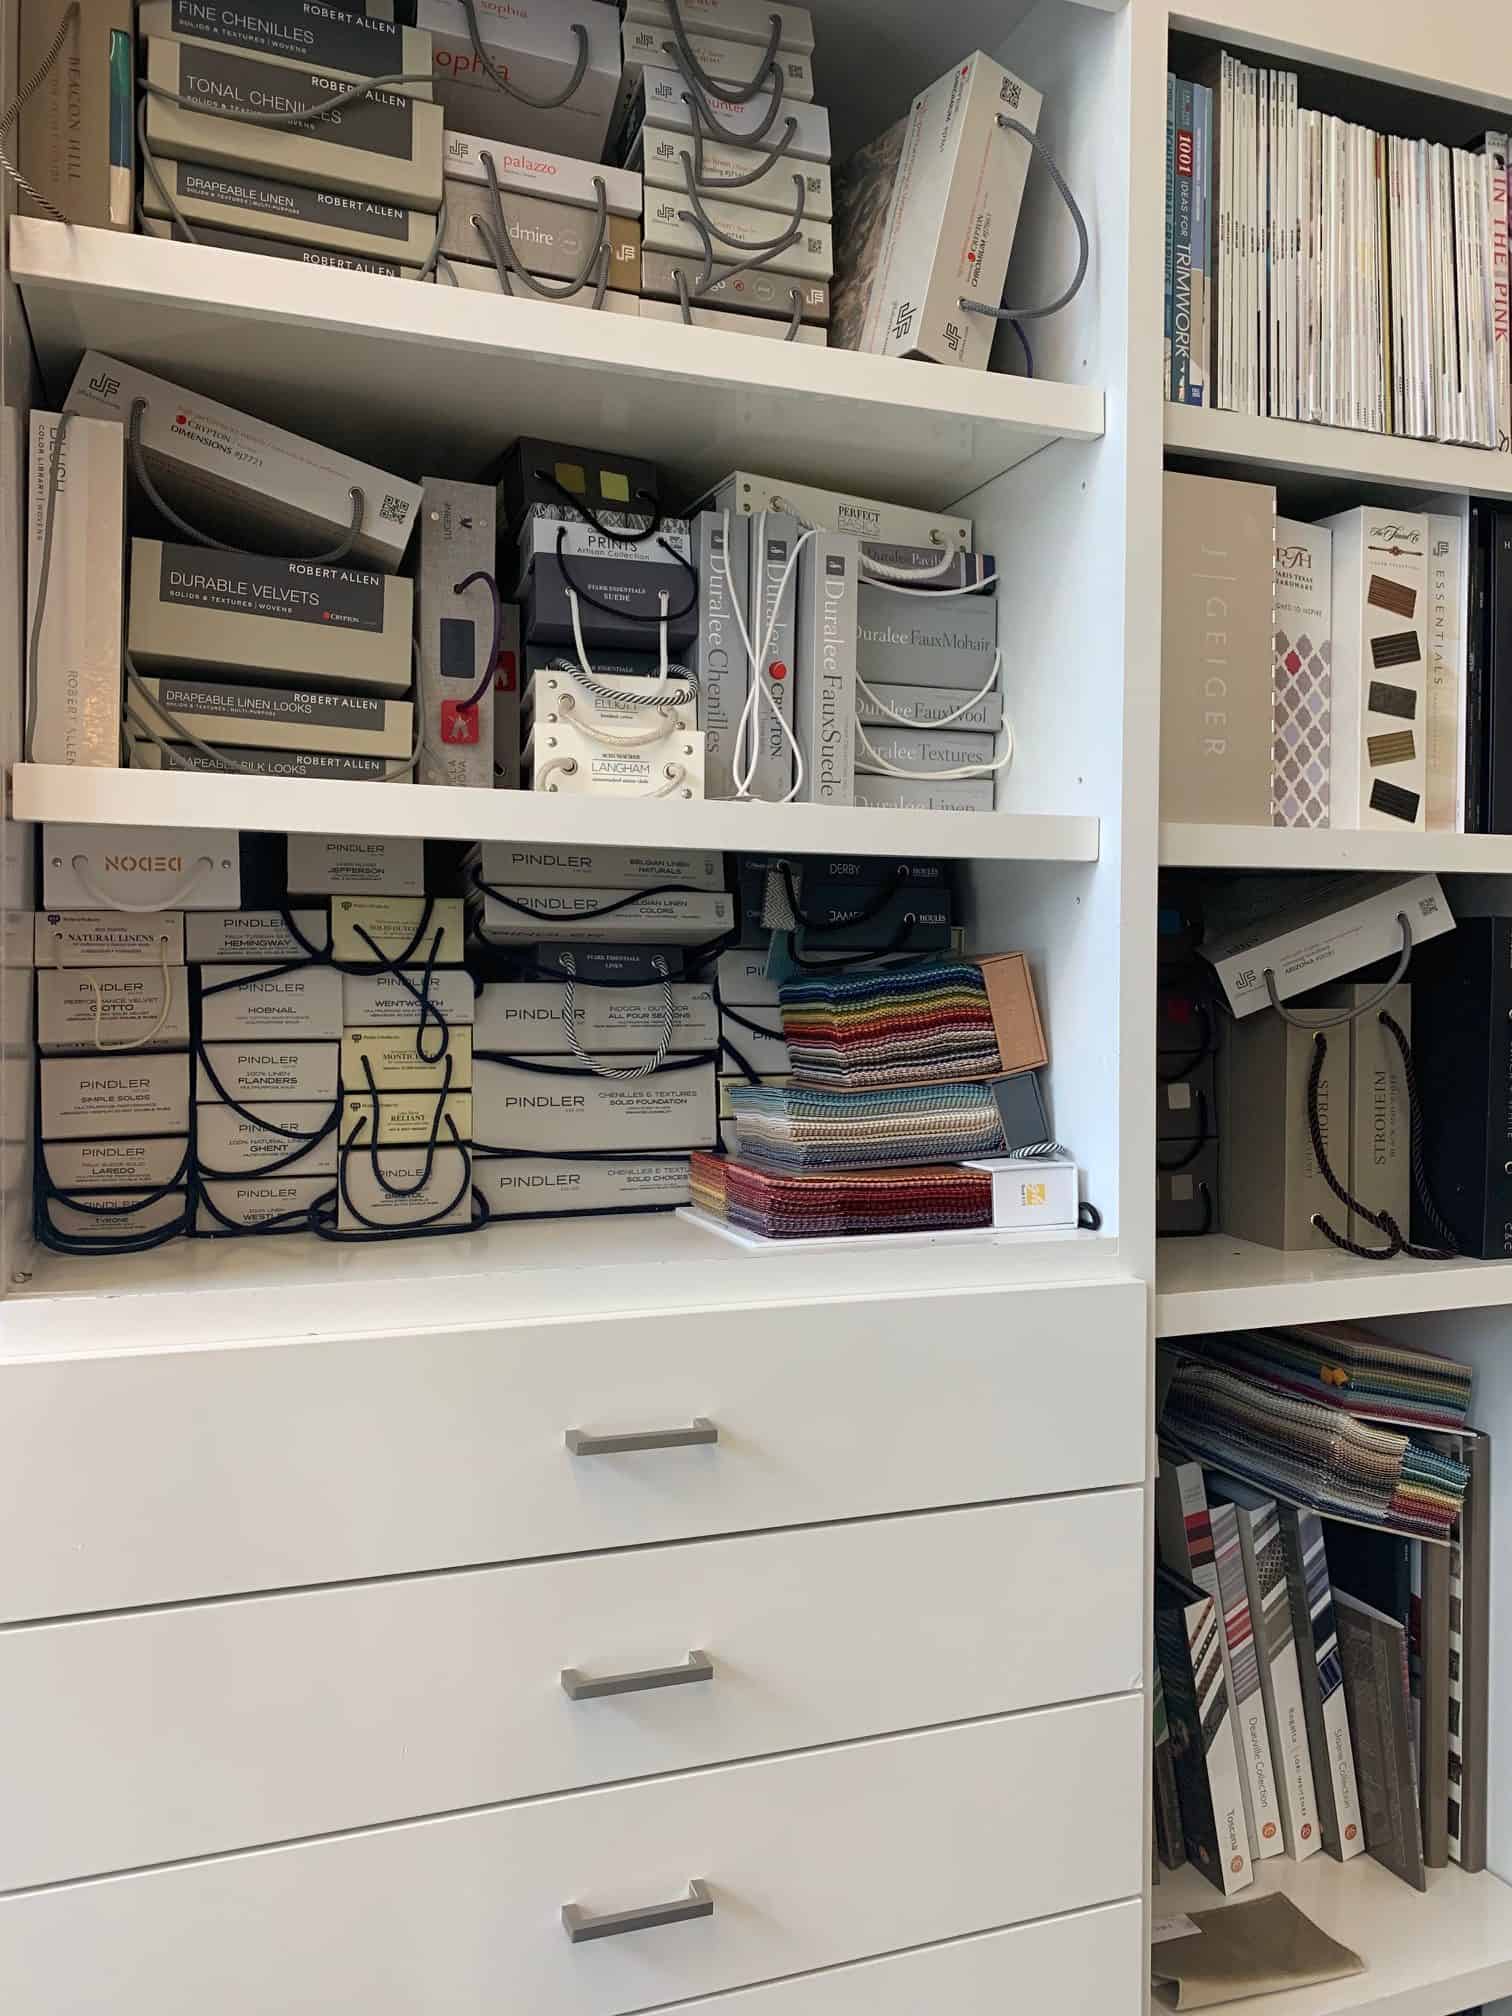
Last month, we resolved to do something big: organize the Laura U studio library. The library is a very important part of our office and probably one of the most-used spots in the entire studio. It houses all of our design samples, from silk wall coverings to hard woods. It’s a place of inspiration, but also a place that has gotten so cluttered, we’ve been reduced to large catch-all baskets and full shopping bags.
With everyone eager to find joy in their homes, I felt the need to find joy once more in our library. I’m here to report that with the professional help of Cathryn Linn from the Organizing Organization, we are well on our way to achieving the functional space of our dreams.
From now until the final reveal, Cathryn is taking over the Journal to share her office organization tips. You will love her step-by-step process to finally gaining control of your most disorganized spaces. Take it away, Cathryn!
“Thanks, Laura! It’s a pleasure to be not only here on your blog, but in your studio. It’s not often I work in an office setting, but with all the creative folks, the designs, and the beautiful materials, I can tell this isn’t your typical office!”
The Organizing Organization Approach
Whether it’s a large home or office space, Cathryn begins every project as a blank slate. Every situation is finite: how was the room intended to be used and how is it currently being used. From there she assesses function and aesthetics. It’s no different than how we approach projects honestly! We consider use in every room and then optimize the flow in each space, with thoughtful and intentional care for design in good taste.
“Function is the most important factor in organizing. Aesthetics are very a close second.”
Cathryn employs a fail-safe, 4-step process:
- Sorting
- Editing
- Categorizing
- Labeling <<her favorite part, by the way!
So far, we’ve gotten through the first two phases. While pretty painless, I was surprised at how many samples we’ve accumulated over the years! And not only that, how long it was taking.
Cathryn and her team did a fabulously thorough job of confronting every cabinet, corner, and drawer with a hand-held vacuum. This is not your typical office organization tip, but made such a difference! With the dusty visual cluttered removed, we felt like we were making some real progress.
Sorting
During the sorting process, Cathryn and her team touch everything in the room. Nothing gets forgotten under a bed or jammed into a junk drawer. Once touched, each item is given a status: keep, recycle, donate, or purge.
Cathryn often calls this stage, The Purge, to keep things simple, and encourage her clients to really get serious about the usefulness of their items.
“To really sort your space, you have to touch everything. And everything we touch, will have a place at the end of it all.”
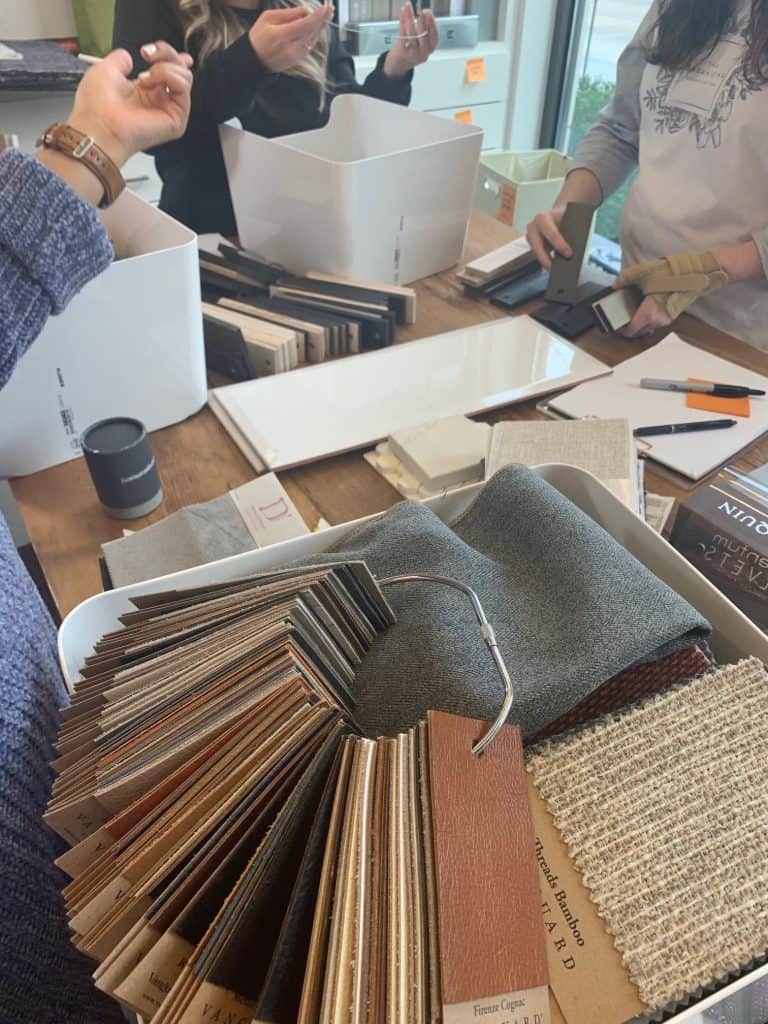
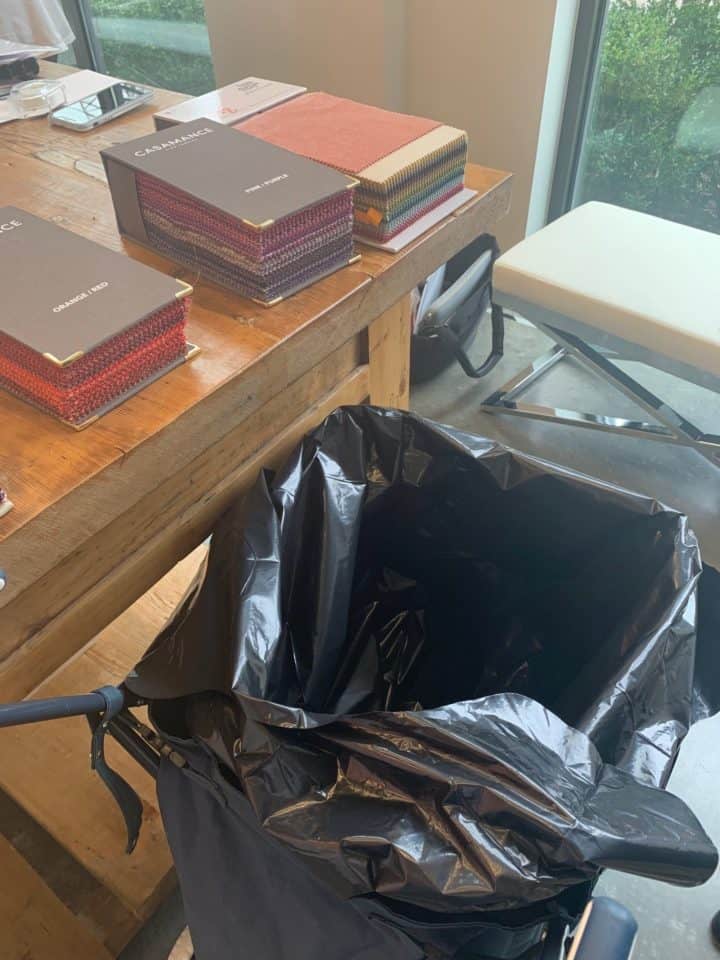
To prepare ourselves for this stage, the Laura U designers broke into teams. Blair and Lexie tackled tile, Shenay and Britian sorted through the fabrics, and Shannon and Krystin handled the brochures, books, and catalogues. Cathryn persuaded us to go digital when possible, making Shannon’s job a lot easier. A lot of our vendors have migrated from paper brochures to digital versions, which we appreciate. It is much easier to source and share online than with a physical copy. We filled up the recycle bin pretty fast with all that paper!

Editing
In this crucial editing step, Cathryn suggests you take a closer look at the items you’ve sorted, decided to keep, and intend to purge. Anything you’ve deemed a keeper will move on to the categorizing stage, while the rest of your items will be on their way to the recycling center, Goodwill, or the trash bin.
Most rooms will need a second pass on these things, and that’s when the editing comes in. While Marie Kondo encourages you to find joy in all of your kept items, Cathryn wants you to assess for function. Is this item useful? Is it something I truly need?
For the Laura U library, there are some items that MUST stay, but many others needed to go back to the Houston Decorative Center and their respective vendors. Needless to say, we used a lot of post-it notes.

3 Office Organization Tips from Cathryn Linn of the Organizing Organization
After our purging (which took about 4 days!), I sat down with Cathryn to get some insight into what she thinks so far. Her biggest challenge? The sheer amount of samples, books, and hard finishes we house.
As she preps for the categorizing stage, here are her top 3 considerations that you could use for your own organizing project:
1. Give yourself enough time
Cathryn says: “It took you years to accumulate that mess. You’re not going to completely organize it an hour.” Being realistic with what you can tackle is essential to not feeling overwhelmed, and it prevents you from feeling failure. Cathryn likes to think of this Ben Franklin quote as a motivator: “For every minute spent organizing, an hour is earned.”
“This is so true,” Cathryn says. “When you organize, you put a lot of time in at the beginning, but you save so much time when you don’t have to search for your keys or your child’s favorite toy every week.”
2. Donate immediately
Cathryn suggests that purging fast will help your mindset. “I recommend that you donate what you’ve designated to donate that very same day if possible,” Cathryn says. “It’s a quick win that will declutter your space and make you feel accomplished. Plus, your donation is going to a great cause. It’s a win all around!”
3. Ask the tough questions
“Consider what’s more important to you: stress or sentimentality,” Cathryn says. “I have clients who avoid entire rooms of their house to avoid the stress disorganization causes them.” So what do you do about the old t-shirt you never wear, but reminds you of that concert you attended decades ago? “Take a picture of you wearing it,” Cathryn suggests. “That way, you’ll always have that memory, but not the clutter.”
Take a look at your junk drawer. Think of all the items in there you haven’t used in years. Here’s a good rule: if you can replace it in under 20 minutes for under $20, purge this item.
What’s next after The Purge?
Our next step is to categorize all the items we’ve decided to keep. Then, we’ll find places for these items in our current drawer system. Cathryn will assist with organization within the drawers themselves.
“I go to the Container Store A LOT,” Cathryn says.
Stay tuned for the next step in our organization adventure! Follow along with us on Instagram and via email.
![]()